Cervical Surgical Technique Surgical Standards
Detailed overview of advanced cervical disc replacement surgical techniques including anterior approach methods, microsurgical standards, implant positioning, and multidisciplinary collaboration ensuring optimal surgical outcomes and patient safety.
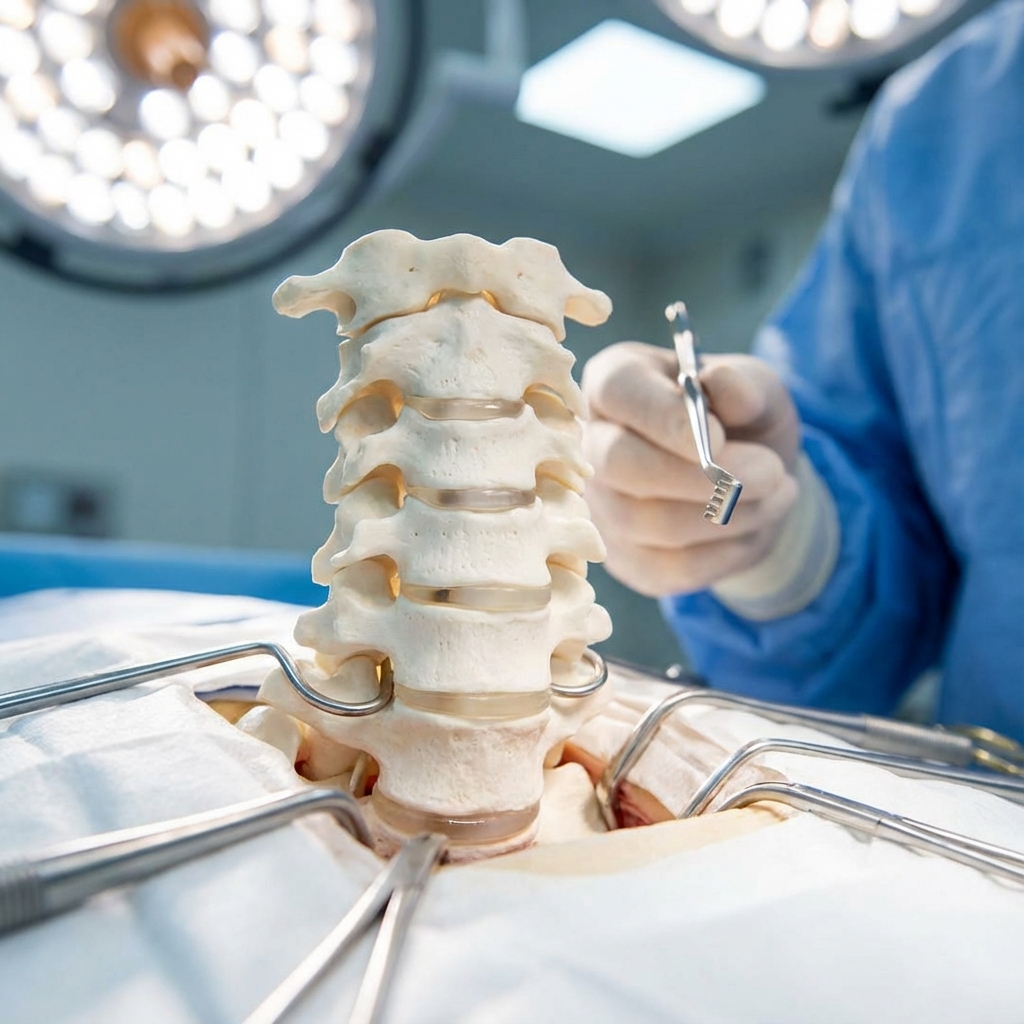
Microsurgical Approach
Optimal Access
Anterior
Advanced anterior microsurgical approach providing direct access to cervical disc space with minimal tissue disruption and optimal visualization for precise implant placement.
Implant Positioning
Optimal Placement
Safety
Precise implant positioning using advanced imaging guidance and microsurgical techniques ensuring optimal biomechanical function and long-term durability.
Surgical Time
Efficient Procedure
Minimal
Minimally invasive surgical technique with reduced operative time, minimal blood loss, and accelerated recovery compared to traditional open surgical approaches.
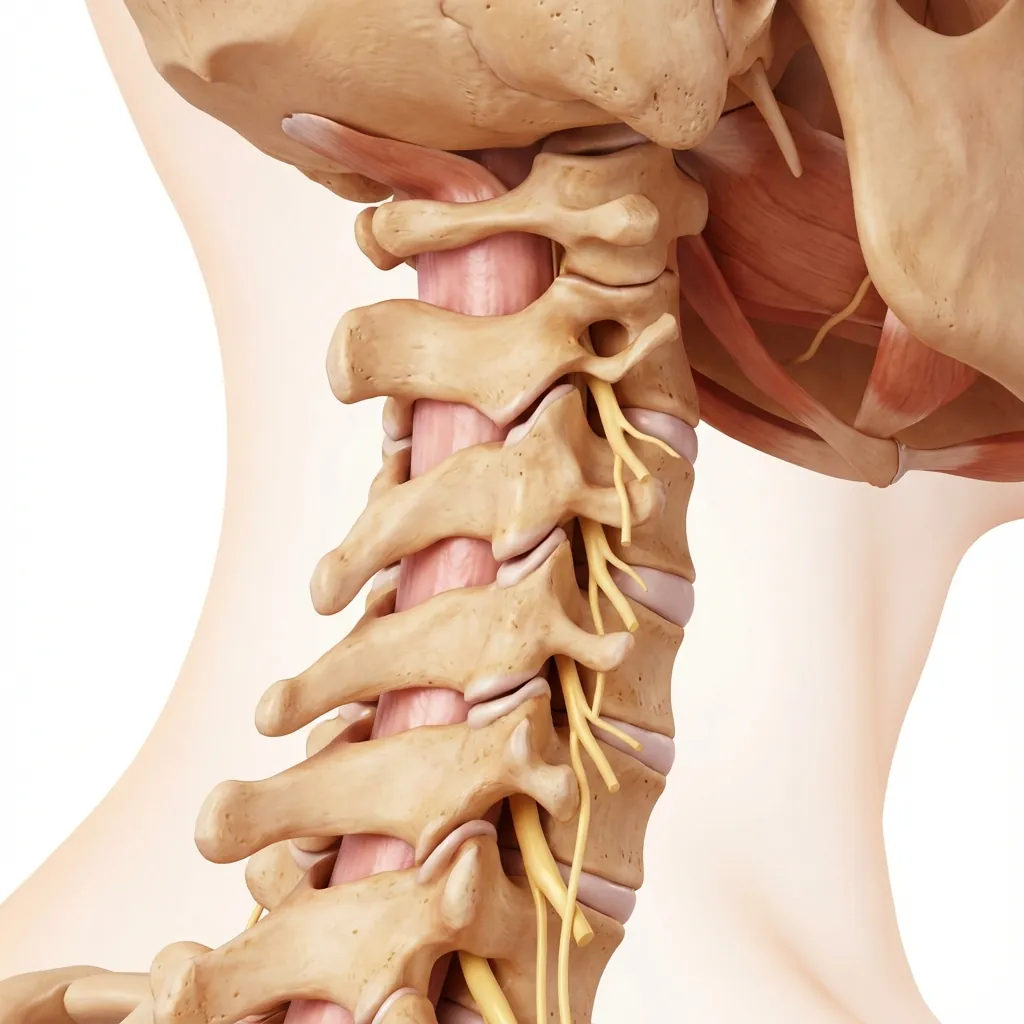
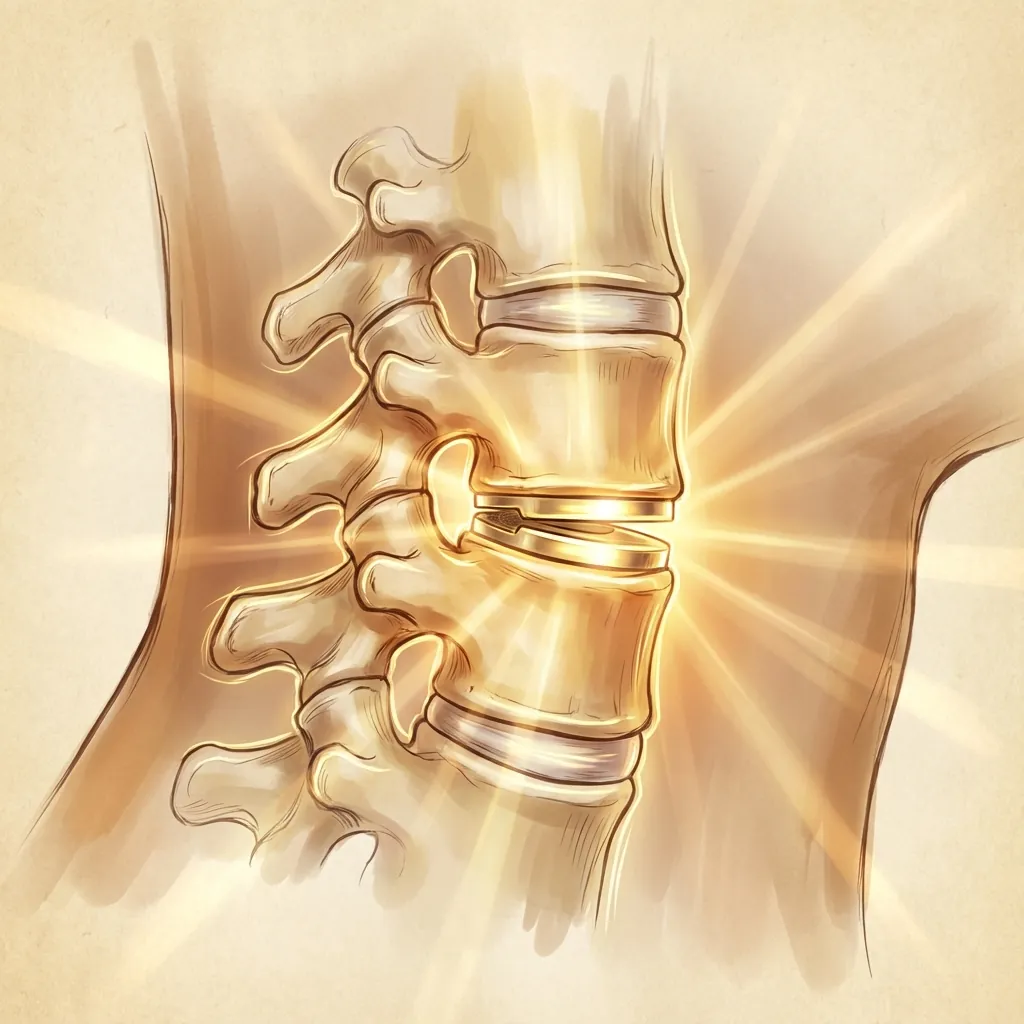
Anterior Cervical ApproachThe Gold Standard
The anterior cervical approach is the gold standard for cervical disc replacement, providing direct access to pathology with minimal neural disruption.
Why Anterior Approach?
Direct access to pathology
Disc herniations, stenosis, and problematic discs accessed directly from anterior side of neck
Excellent visualisation
Clear line of sight to entire disc, endplates, and neural structures
Natural trajectory
Minimises retraction on spinal cord and nerve roots
Less muscle disruption
Primarily follows natural planes between muscle groups rather than cutting through them
Established safety profile
Fifty+ years of experience with well-defined anatomy and complication management
Reproducible outcomes
Standardised approach allows consistent, high-quality results
Approach Variations
Standard ACDA
Smith-Robinson Approach (1958)
The classic anterior cervical discectomy and arthroplasty approach. Most common technique with well-established landmarks and dissection planes. Excellent for single-level and two-level surgery.
Clinical Standards
The anterior approach provides the gold standard access for cervical disc replacement, with over fifty years of clinical refinement ensuring optimal patient outcomes and surgical technique.
Patient Positioning& Preoperative Setup
Meticulous preparation ensures optimal surgical access and patient safety throughout the procedure.

Critical Safety Consideration
Proper head positioning is essential—overextension can cause nerve compression. The head must be supported without hanging off the table, with mild extension (10–15°) to optimise surgical access whilst maintaining patient safety.
Intraoperative NeuromonitoringContinuous Safety Infrastructure
Neuromonitoring is the standard of care for cervical spine surgery, providing real-time feedback on neural integrity throughout the procedure.
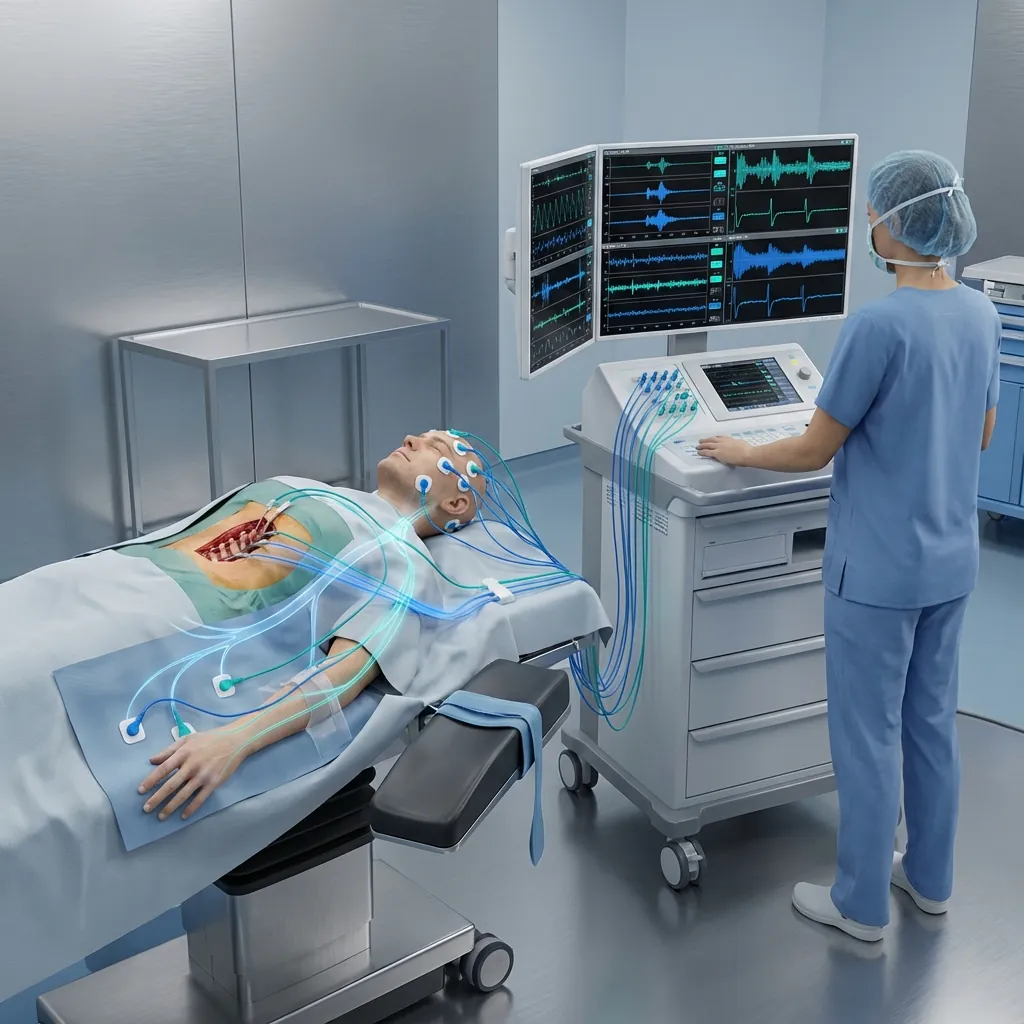
Somatosensory and Motor Evoked Potentials
Measure electrical signals travelling from peripheral nerve up spinal cord to brain, providing continuous assessment of neural pathway integrity.
How It Works
Alert Thresholds
Continuously observes baseline, alerts surgeon immediately if changes occur
Acknowledges alerts and responds (retracting, repositioning) to prevent further compromise
Informed of alerts, monitors haemodynamics, assists with interventions if needed
Coordinates all movements and instrument positioning
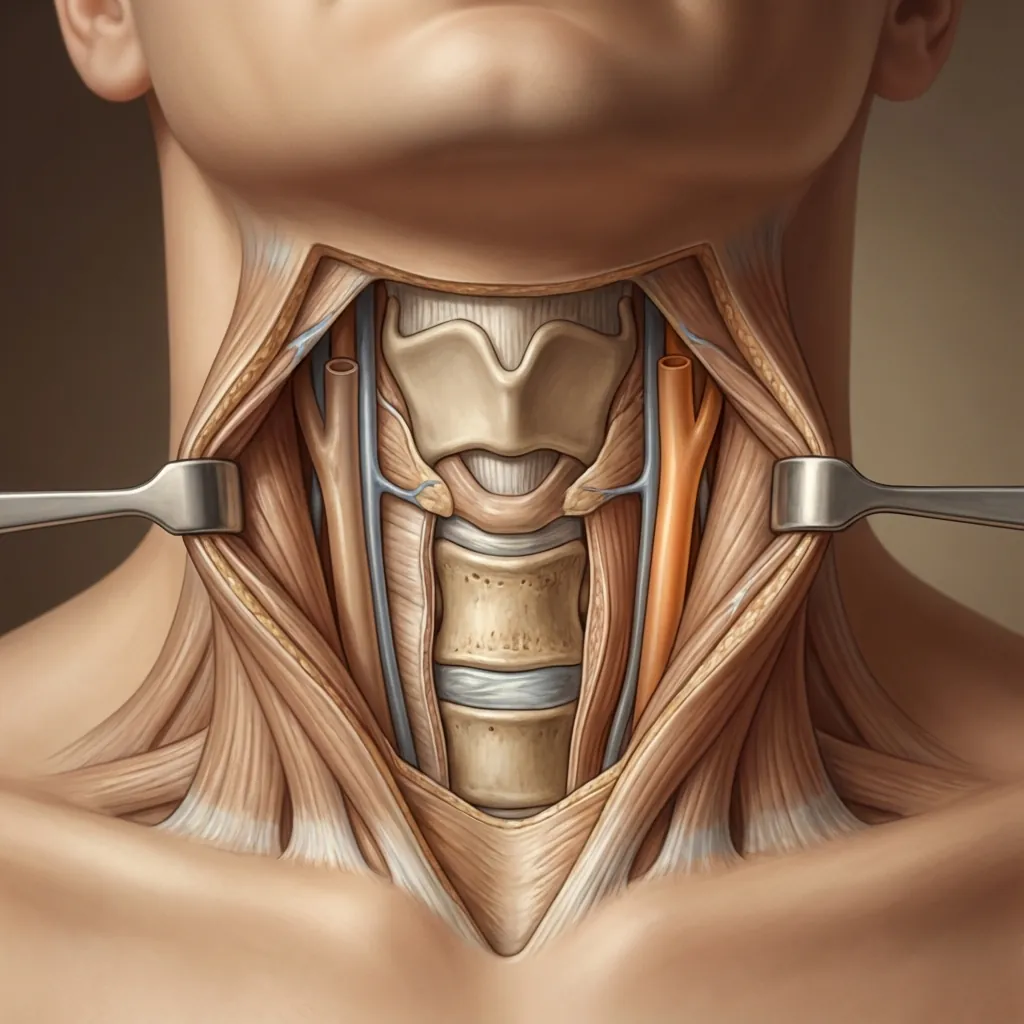
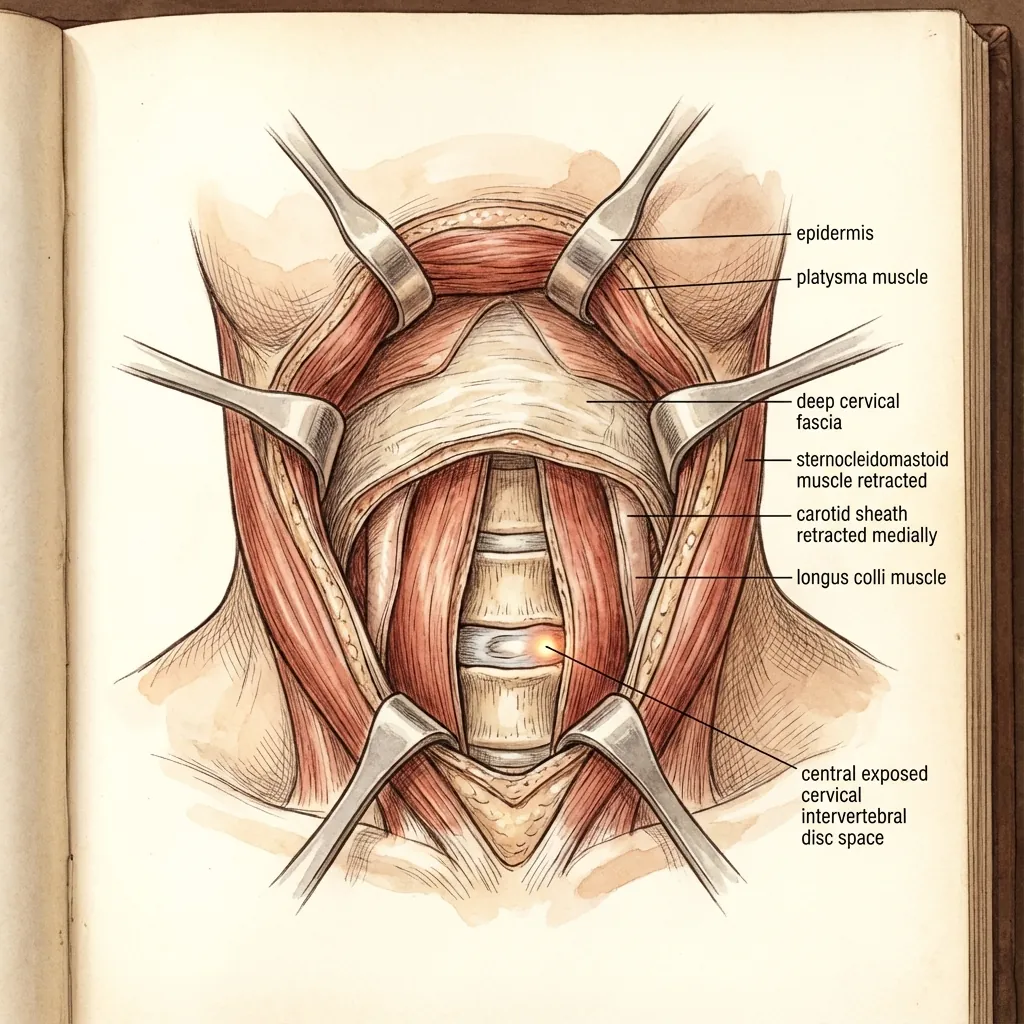
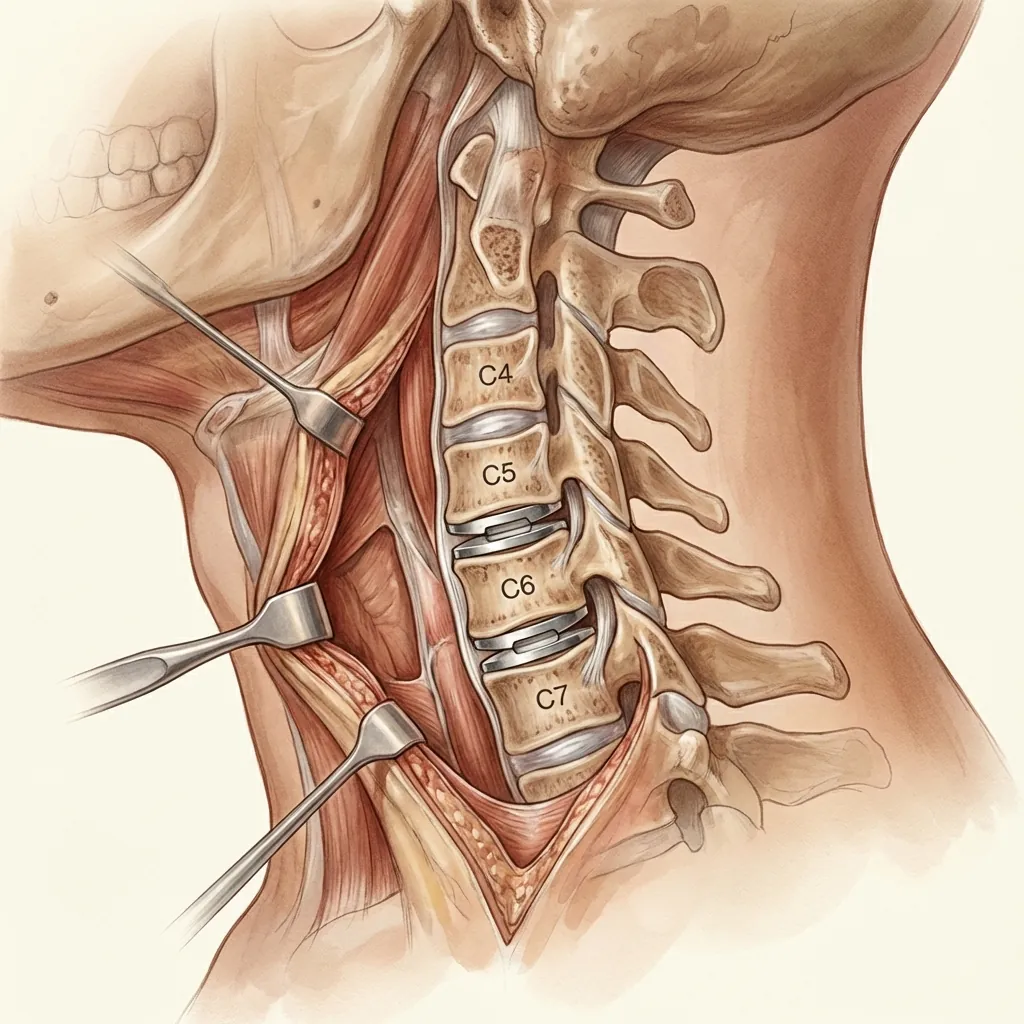
Anterior Cervical ExposureLayer-by-Layer Dissection
Accurate incision placement and systematic dissection ensures efficient, safe exposure while protecting critical neurovascular structures.
Incision Placement Landmarks
Angle of mandible (higher on head); closer to carotid bifurcation
Typically midway up neck
Lower in neck, closer to clavicle; palpable vertebra prominens (C6)
Critical Structure Identification & Protection
Carotid Artery
Palpated laterally in carotid sheath
Internal Jugular Vein
Travels with carotid artery
Vagus Nerve
Within carotid sheath
Recurrent Laryngeal Nerve
Tracheoesophageal groove (branch of vagus)
Oesophagus
Medial structure
Trachea
Medial structure containing endotracheal tube
Discectomy TechniquePrecise Pathology Removal
Precise discectomy removes pathological disc material whilst preserving healthy tissue and preparing the space for optimal implant seating.
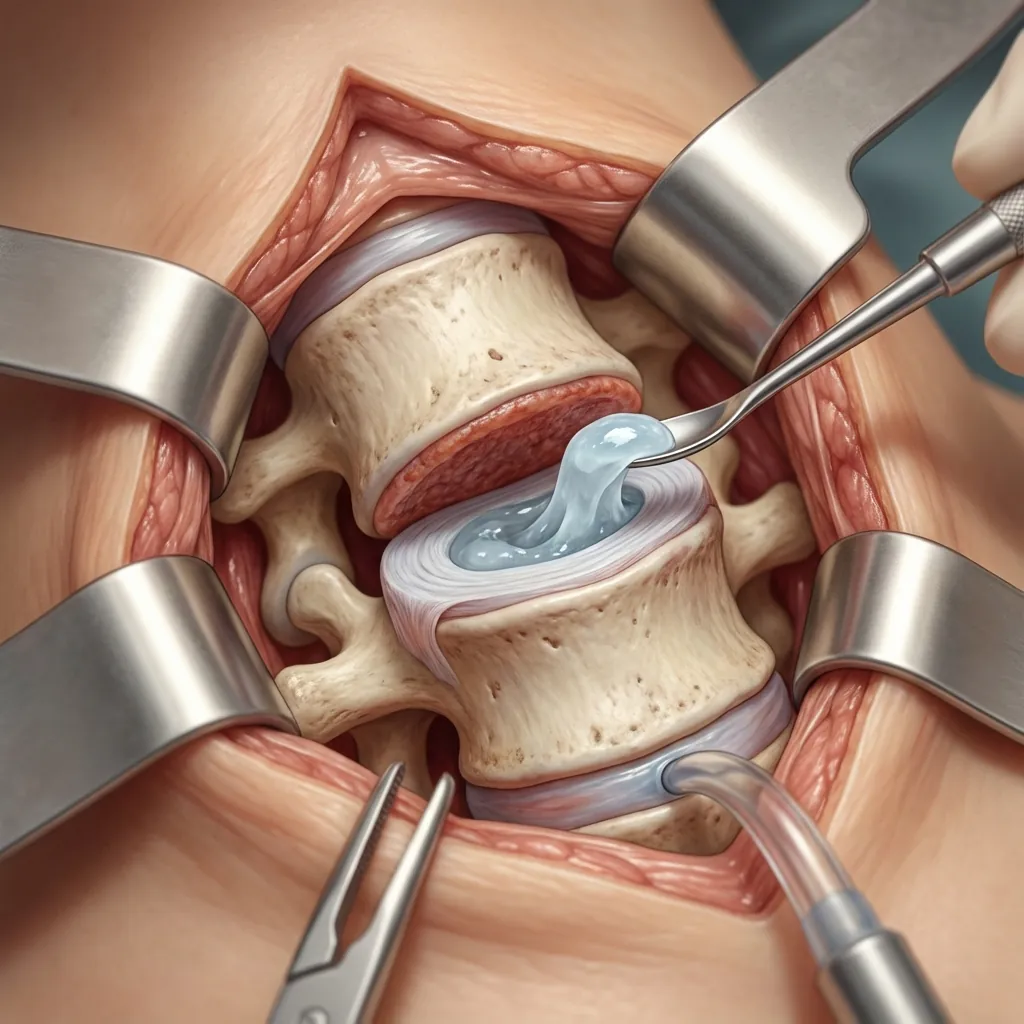
Define Disc Margins
Precise identification of disc boundaries ensures complete yet conservative removal.
Core Extraction Principles
Endplate PreparationFor Optimal Implant Seating
Level, well-prepared endplates are essential for optimal implant seating, load distribution, and long-term implant longevity.
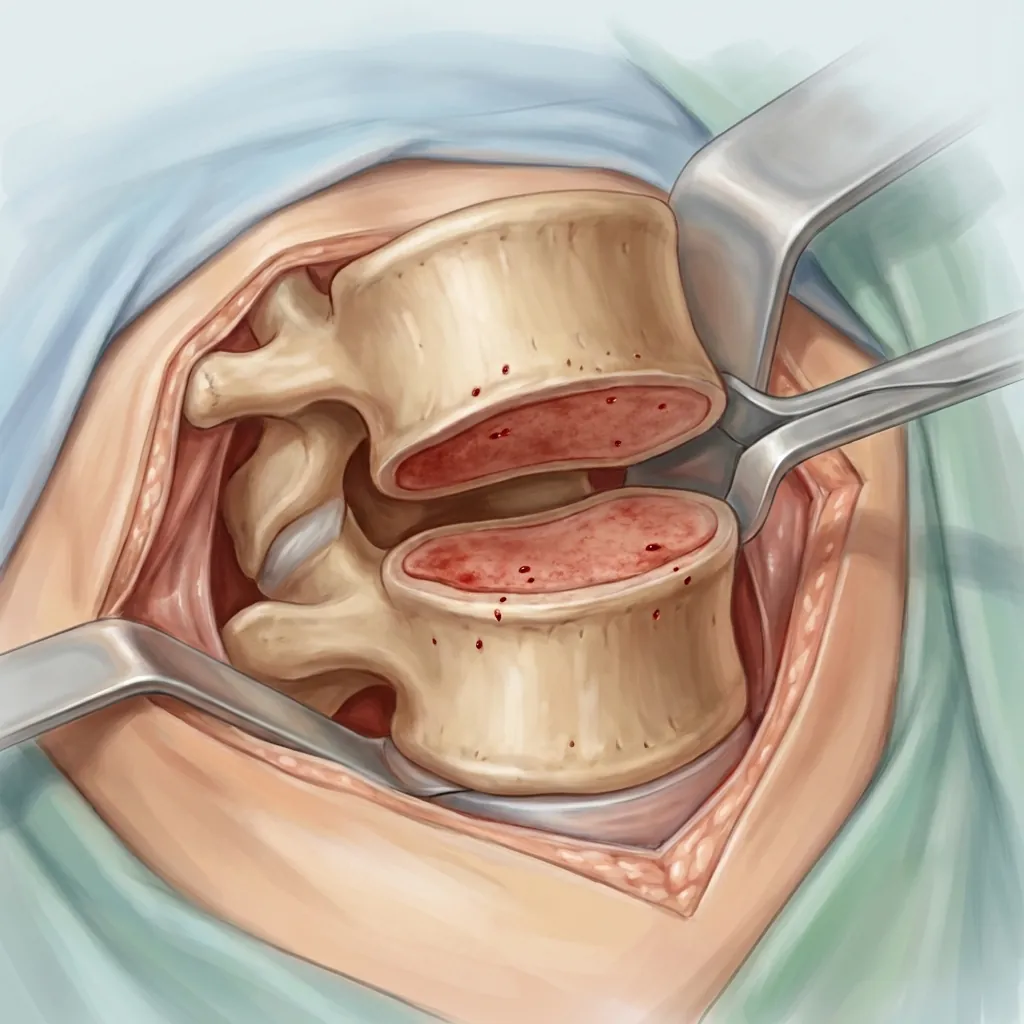
Preparation Goals
Disc Space Height Restoration
Gradual distraction restores disc height for optimal outcomes
Decompresses nerve roots
Opens foramina for neural relief
Restores segmental lordosis
Re-establishes natural forward curve
Reduces facet compression
Alleviates posterior element stress
Initial Distraction
Advanced Approaches
Careful endplate preparation and gradual distraction create the optimal environment for implant integration. The goal is to achieve level, bleeding bone surfaces that will support long-term implant stability and bone ingrowth.
Implant Selection& Positioning
Optimal implant selection and precise positioning are essential for biomechanical function and long-term outcomes.
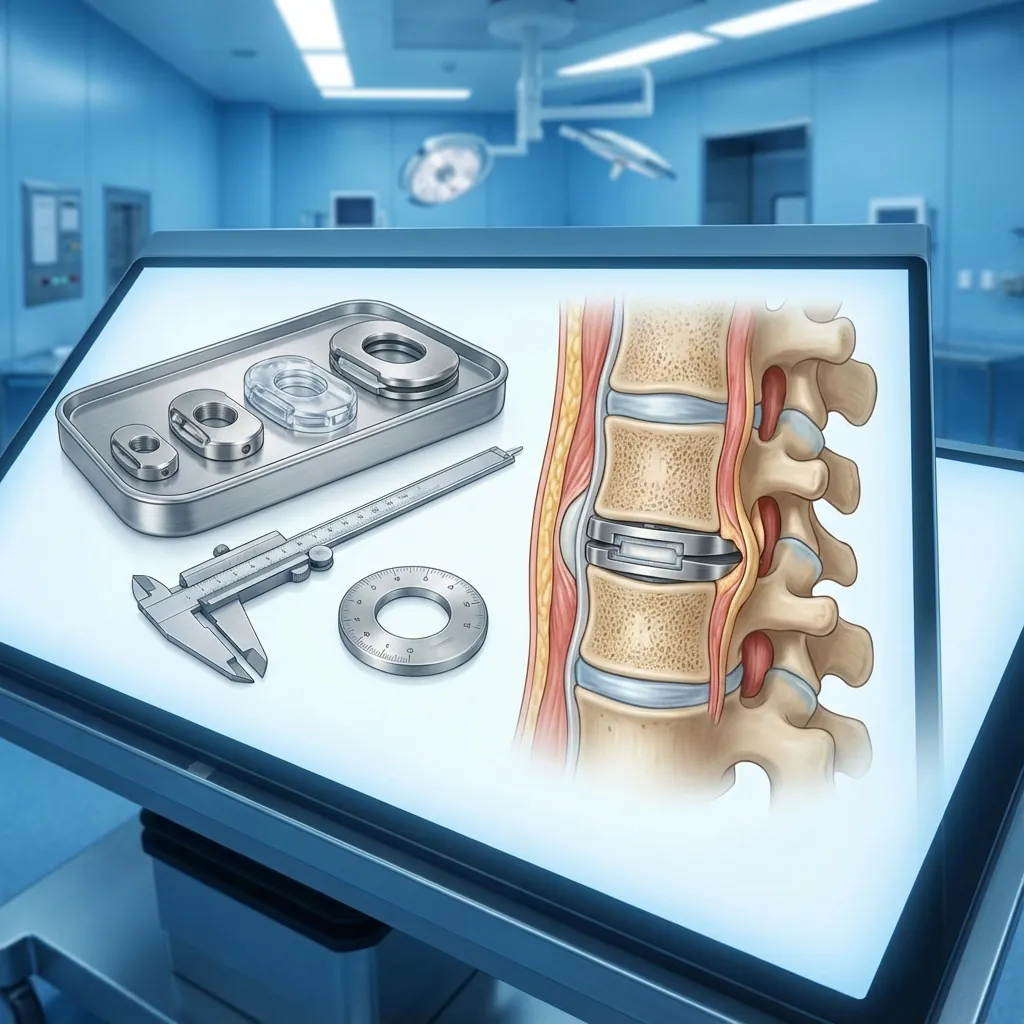
Selection Parameters
Implant Size
Match implant dimensions to patient anatomy
Match anterior vertebral body width
Match disc space width
Restore disc space height (typically 5–6mm native)
Positioning Goals
Critical alignment requirements for optimal outcomes
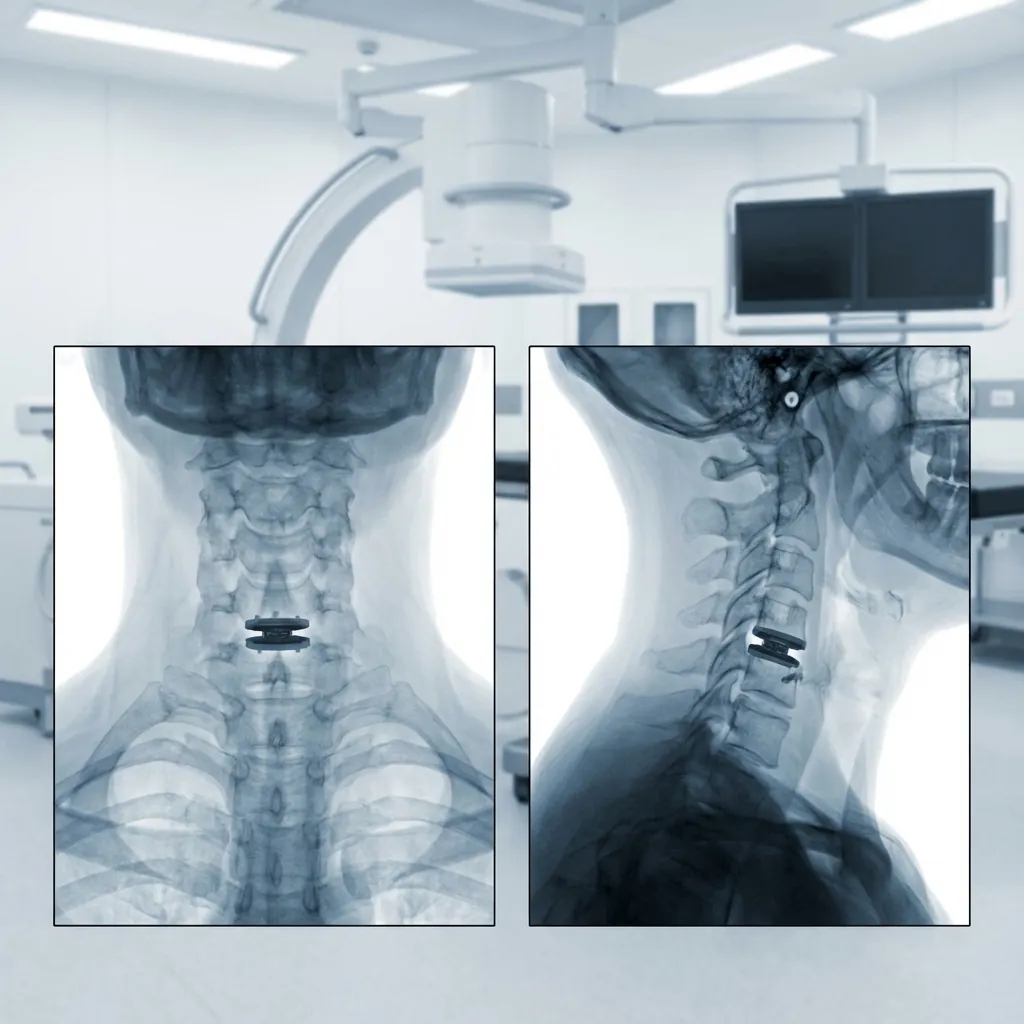
Intraoperative Verification Methods
Direct Visualisation
Microscope inspection of implant position relative to vertebral bodies
Lateral Fluoroscopy
Confirms AP depth, lordotic angle, disc height restoration
AP Fluoroscopy
Confirms medial-lateral centering, absence of lateral shift
Measuring Verification
Specialised instruments confirm restoration to target height
Implant Insertion& Fixation Technique
Careful insertion technique ensures proper seating and optimal fixation for immediate stability and long-term success.
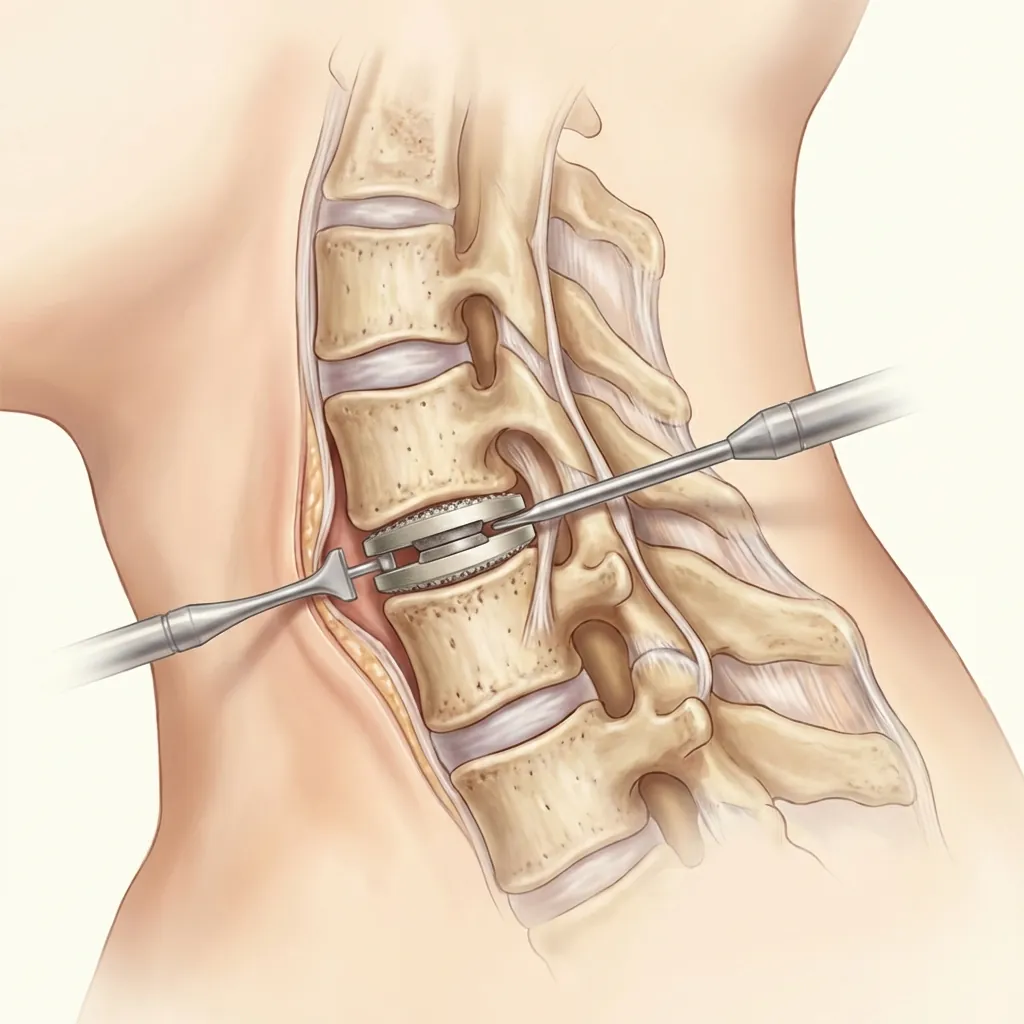
Load Sharing & Early Stability
Modern disc replacement implants achieve stability immediately through multiple mechanisms.
Clinical Significance
Early motion immediately postoperatively is normal and expected. Patients can mobilise and begin physical therapy immediately, with full biological fixation developing over the following three to six months.
Neural DecompressionVerification
Before closure, the surgeon confirms adequate decompression of all neural structures through systematic visual, tactile, and electrophysiological assessment.
Verification Checklist
Remove residual disc material compressing neural structures
Careful removal with high-speed burr or rongeur
Select different height/angle if needed
Consider laminectomy or posterior decompression; may require staged surgery
Haemostasis & ClosureTechnique
Meticulous haemostasis before closure prevents postoperative haematoma. Systematic layer-by-layer closure ensures proper tissue approximation.
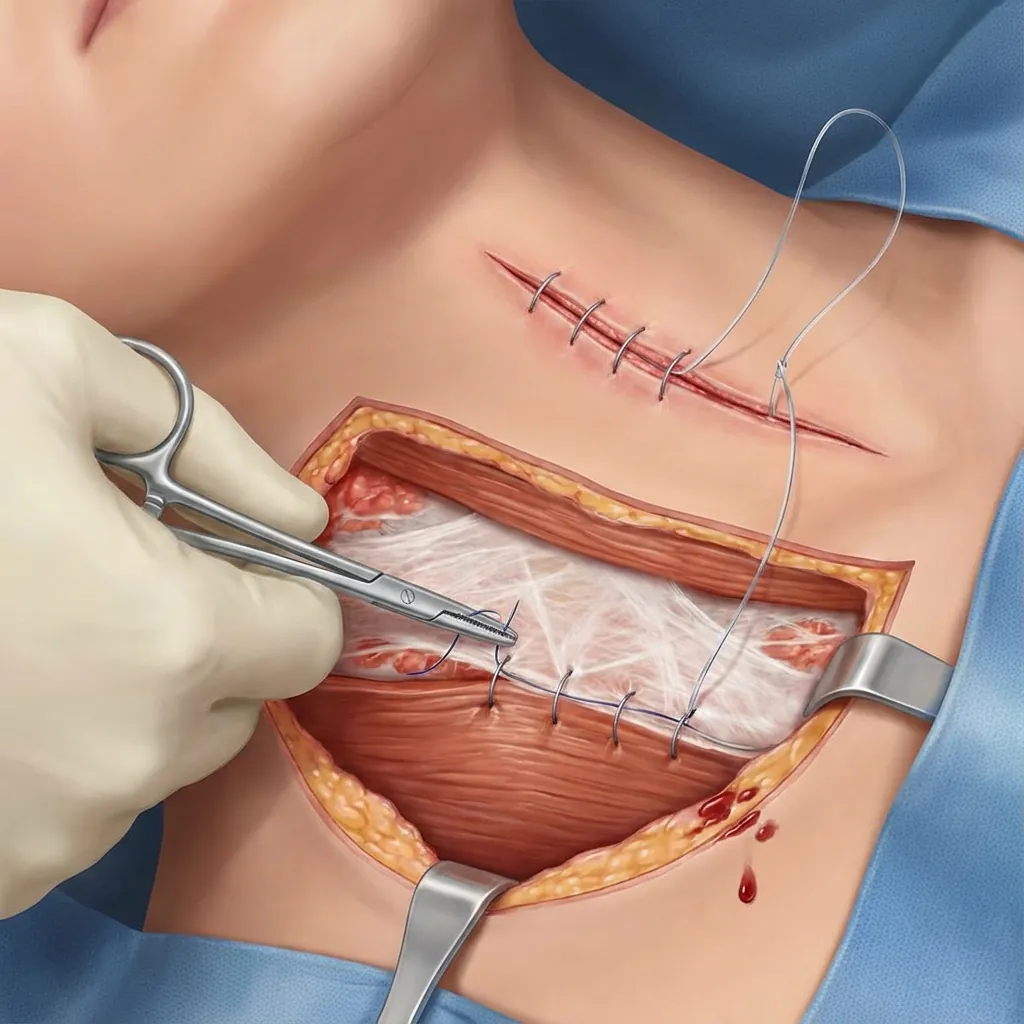
Layered Closure Sequence
Haemostasis Sequence
Electrocautery
Monopolar on muscle, bipolar near neural structures
Topical Hemostatic Agents
Thrombin, haemostatic gauze, collagen for significant ooze
Bone Wax
Applied to bleeding from bone (endplates, vertebral bodies)
When to Place Drain
Drain Management
Risks vs Benefits
Complication PreventionStrategies
Experienced surgeons anticipate and manage complications proactively through systematic prevention, early recognition, and established management protocols.
Potential Complications
Vascular Injury
Injury during dissection near major vessels
Prevention Strategies
Prevention Is Key
The foundation of complication management is prevention through meticulous surgical technique, continuous monitoring, and anticipation of potential issues before they occur. Experienced surgeons develop situational awareness that guides gentle tissue handling and precise anatomical dissection.
Intraoperative QualityAssurance
Systematic quality assurance through continuous monitoring, fluoroscopic verification, and team communication ensures optimal surgical outcomes.
Continuous Neuromonitoring Protocol
Fluoroscopic Quality Assurance
Lateral View
Anteroposterior (AP) View
Oblique Views (if needed)
Intraoperative Quality Metrics
Time-Out
Continuous
Sign-Out
Multi-Level & RevisionConsiderations
Complex cases require modified approaches with additional considerations for multi-level surgery, revision procedures, and special intraoperative situations.
Multi-Level Surgery Technique
Extended Incision
Surgical Sequence
Multilevel Considerations
Multilevel Complications
Advanced Case Planning
Complex cases including multi-level surgery, revision procedures, and special situations require detailed preoperative planning, experienced surgical teams, and often multidisciplinary collaboration including vascular surgery.
Surgical Techniquein Cervical Disc Replacement
Success in cervical disc replacement combines meticulous technique, continuous safety vigilance, and thoughtful decision-making—transforming preoperative planning into optimal surgical outcomes.
Surgical Technique Fundamentals
Long-Term Success Factors
Your Surgeon's Role
Understanding Surgical Technique
Helps you appreciate the complexity and precision of your care
Cervical disc replacement is a sophisticated, precision surgical procedure with multiple technical steps, each critical to success.
Surgical technique—combining meticulous approach, continuous safety vigilance, and thoughtful decision-making—transforms preoperative planning into optimal surgical outcomes and long-term cervical spine health.